 Wishlist
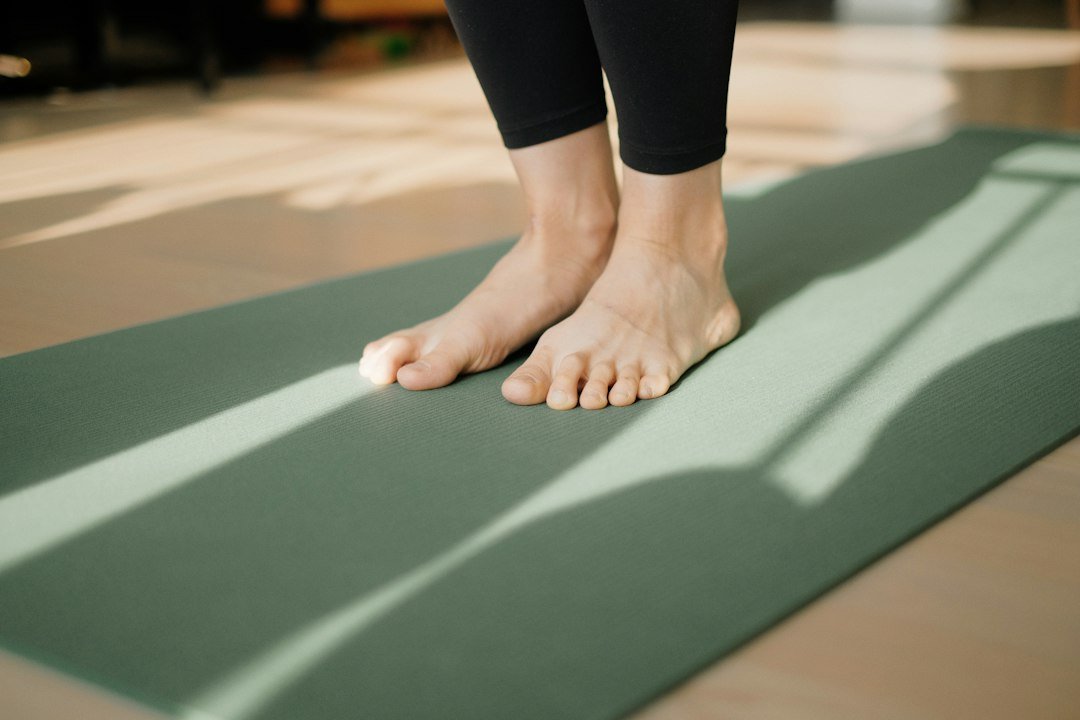
You’ve finished your morning coffee, looked at the clock, and promised yourself you’ll “get into yoga someday.” That someday can be today. Yoga for beginners practiced at home is about small, reliable sessions that help you feel steadier, less tense, and more mobile—without expensive classes or hours of time.
What you’ll have after a few weeks
After following this plan for a few weeks you’ll have a consistent 15–25 minute at-home routine you can do most days, a handful of dependable poses for warming up and stretching, and simple tools to modify exercises as your flexibility and strength improve.
Prepare a simple practice space
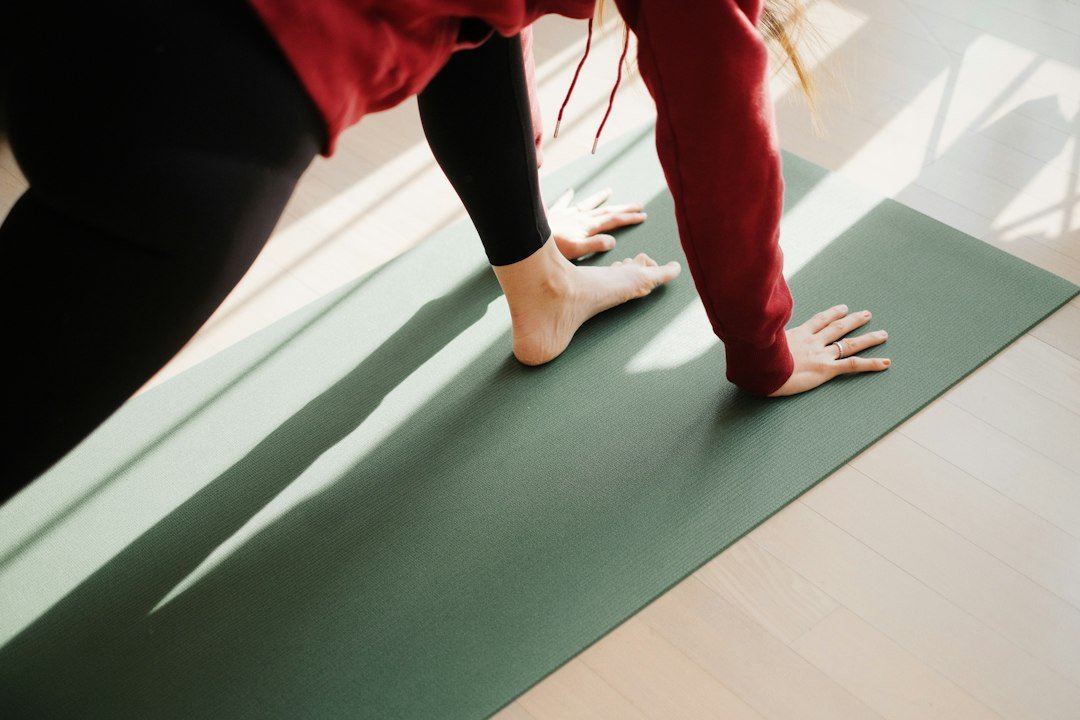
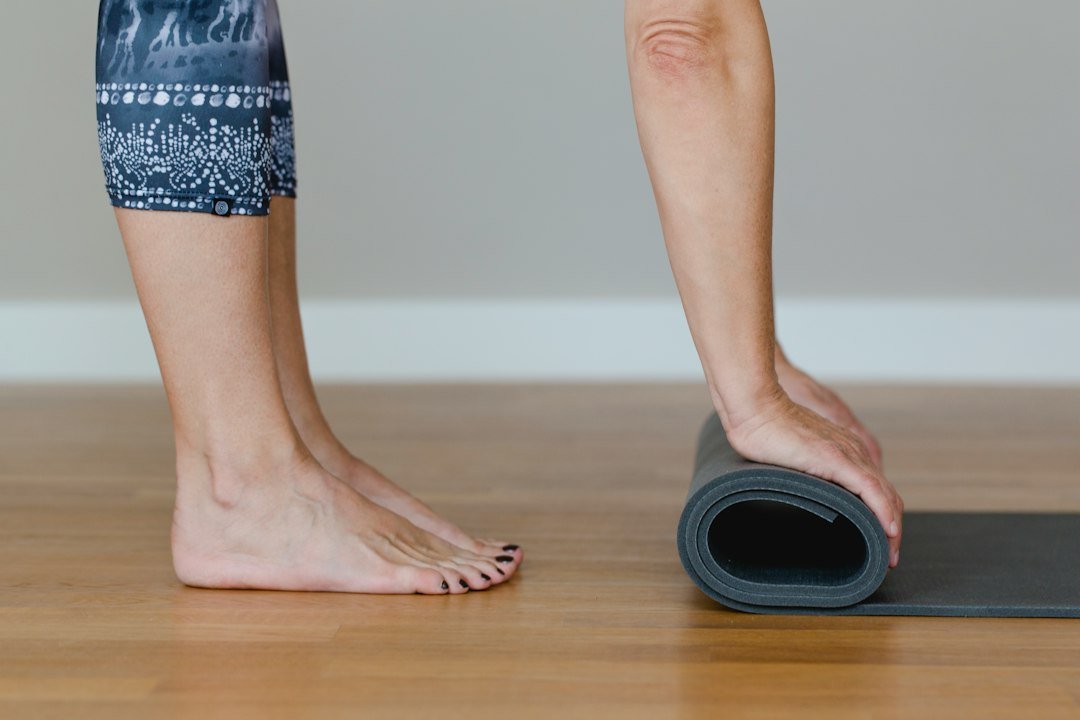
You don’t need a lot of room—clear a small area about the length of your body. Aim for flat floor, minimal clutter, and a little natural light if possible. Key equipment:
- Non-slip yoga mat (or a thick exercise mat)
- At least one yoga block or a sturdy hardcover book
- A bolster, firm pillow, or rolled blanket for support
- Comfortable clothing that moves with you
Place your mat facing the room’s focal point (window, wall, or short hallway) so you can use the wall for balance when needed.
Start with the breathing and brief centering (2–3 minutes)
Use breath to anchor the body. Sit cross-legged or kneel on your mat. Take slow nasal inhales for four counts and exhales for four counts—repeat 6–8 times. If counting feels too rigid, simply notice the breath lengthen and steady. This primes focus and calms the nervous system.
Learn these essential beginner yoga poses
These poses form the backbone of your at-home sessions. Learn alignment, then combine them into a sequence.
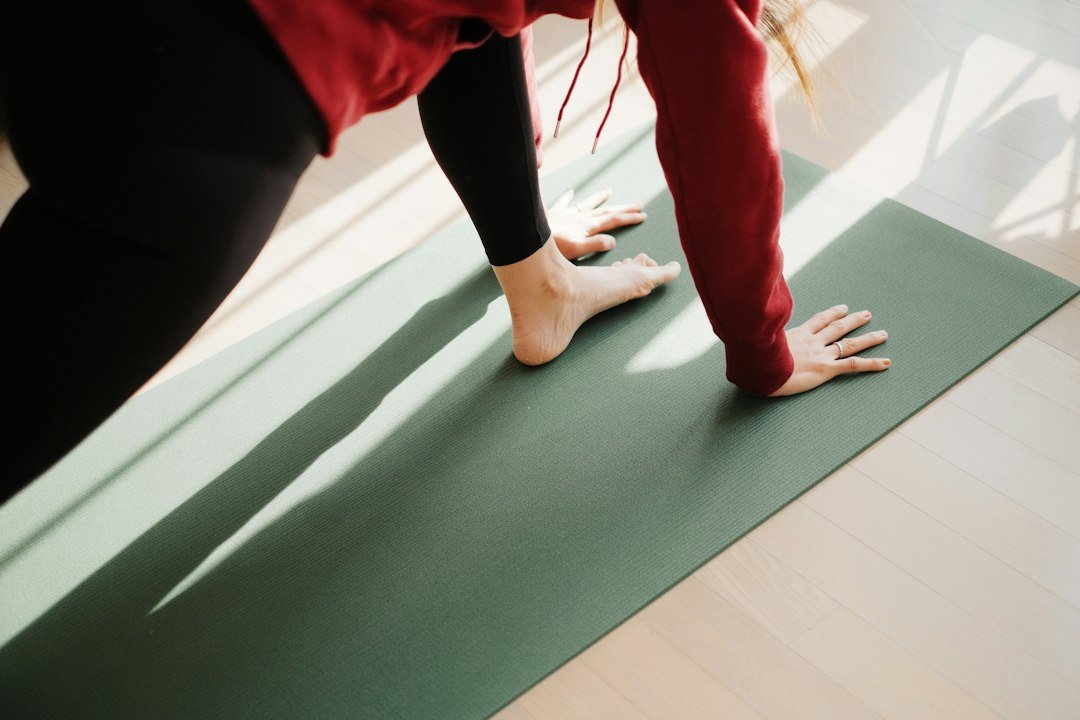
- Cat–Cow (Marjaryasana–Bitilasana) — on hands and knees, alternate arching and rounding the spine to mobilize your back.
- Downward-Facing Dog (Adho Mukha Svanasana) — lift hips back and up, pedal feet gently to stretch calves and hamstrings.
- Low Lunge (Anjaneyasana) — step one foot between hands, drop the back knee and lift the chest to stretch hip flexors.
- Warrior II (Virabhadrasana II) — strong standing pose that builds leg stability and opens the hips.
- Bridge Pose (Setu Bandha) — on your back, lift hips with feet hip-width to strengthen glutes and open the chest.
- Child’s Pose (Balasana) — rest pose to recover and breathe deeply.
Practice each pose for 3–5 breath cycles when learning—longer holds can come later.
A straightforward 20-minute beginner sequence
Do this sequence 3–5 times weekly. Adjust timing to fit 10–30 minutes as needed.
- 2–3 minutes breathing and gentle neck rolls
- Cat–Cow, 6–8 cycles
- Downward Dog, pedal feet for 6–8 breaths
- Step right foot forward into Low Lunge, 6 breaths; switch sides
- From standing, do Warrior II right and left, 6 breaths each
- Walk back to Downward Dog, then lower to seated
- Bridge Pose, 5 breaths, repeat twice
- Child’s Pose, 6–8 breaths to reset
- Seated forward fold or a gentle spinal twist, 6–8 breaths
- 2 minutes lying down (Savasana) to finish—soft eyes, relaxed jaw
How to modify if something feels hard
Tight shoulders, knees, or hamstrings are common. Use props and small changes:
- Support knees with a folded blanket for cat–cow or lunges.
- Place hands on blocks in forward folds or low lunge to avoid rounding.
- Bend the knees in forward folds and downward dog if hamstrings are tight.
- In Bridge, put a block beneath your sacrum for a supported restorative lift.
Why this bolster? A bolster (or rolled blanket) makes restorative poses accessible, helps support low-back openings like Bridge, and provides a comfortable prop for Savasana—useful when you’re building a regular practice and need extra support.
Progress safely: frequency, duration, and signs you’re improving
Start with 3 weekly sessions of 15–20 minutes; add short daily sessions (10–12 minutes) once the routine feels manageable. Signs of progress include reduced stiffness in morning movement, easier balance in standing poses, and less jaw or shoulder tension during the day. Progress is not linear—expect good days and harder ones.
Common beginner obstacles and quick fixes
- No time: Do a 10-minute routine—better than skipping. Set a repeating alarm for consistency.
- Feeling bored: Vary the ending—replace Savasana with a longer seated meditation or try different standing balances.
- Injury or pain: If a joint hurts sharply, stop and substitute a supported version (e.g., use a chair for standing poses) and consult a healthcare professional if pain persists.
How to keep momentum after the first month
Create a simple weekly plan: two longer practices (20–30 minutes), three short sessions (10–15 minutes), and one rest day. Track sessions in a notebook or habit app. When you’re ready, add one new pose a week (for example, Tree Pose for balance or Reclined Twist for spine mobility).
When to consider a class or a teacher
Practice at home as long as you progress safely. Seek an in-person or online class if you want personalized alignment guidance, are recovering from injury, or feel stuck in your progress. A teacher can offer specific cues and hands-on adjustments that speed learning.
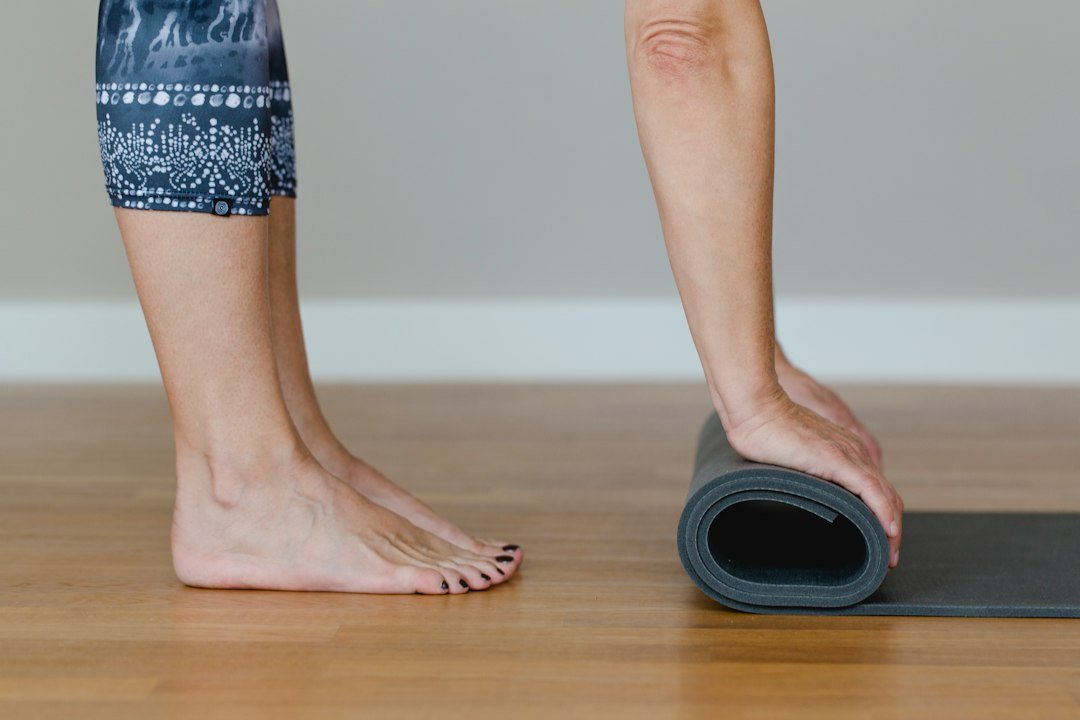
- Clear a small, flat space and roll out your mat.
- Gather one bolster or folded blanket and a block (or book).
- Set a realistic time: 10–20 minutes you can keep.
- Choose a sequence from this guide and save it to your phone.
- Start with breathing—commit to 6 slow breaths before moving.
Yoga for beginners at home is about consistency, not perfection. Start small with a few core poses, use props, and build a short routine that fits your life—progress will follow.
Do I need to be flexible to start yoga for beginners?
No. Yoga increases flexibility over time; begin with gentle modifications and props to keep movements safe.
How often should a beginner practice?
Aim for 3 times weekly to start, then add short daily sessions as it becomes a habit—consistency beats length when you’re starting out.
Can I follow online videos instead of a live class?
Yes—videos are a practical way to learn at home. Choose reputable teachers and pause frequently to check alignment and rest when needed.
What should I do if a pose causes pain?
Stop and switch to a supported modification or an alternative pose. Avoid sharp joint pain and consult a professional if pain continues.
Which props are most useful for beginners?
A non-slip mat, a bolster or folded blanket, and one or two blocks are the most helpful props for support and alignment.